.png?w=1928&h=815)

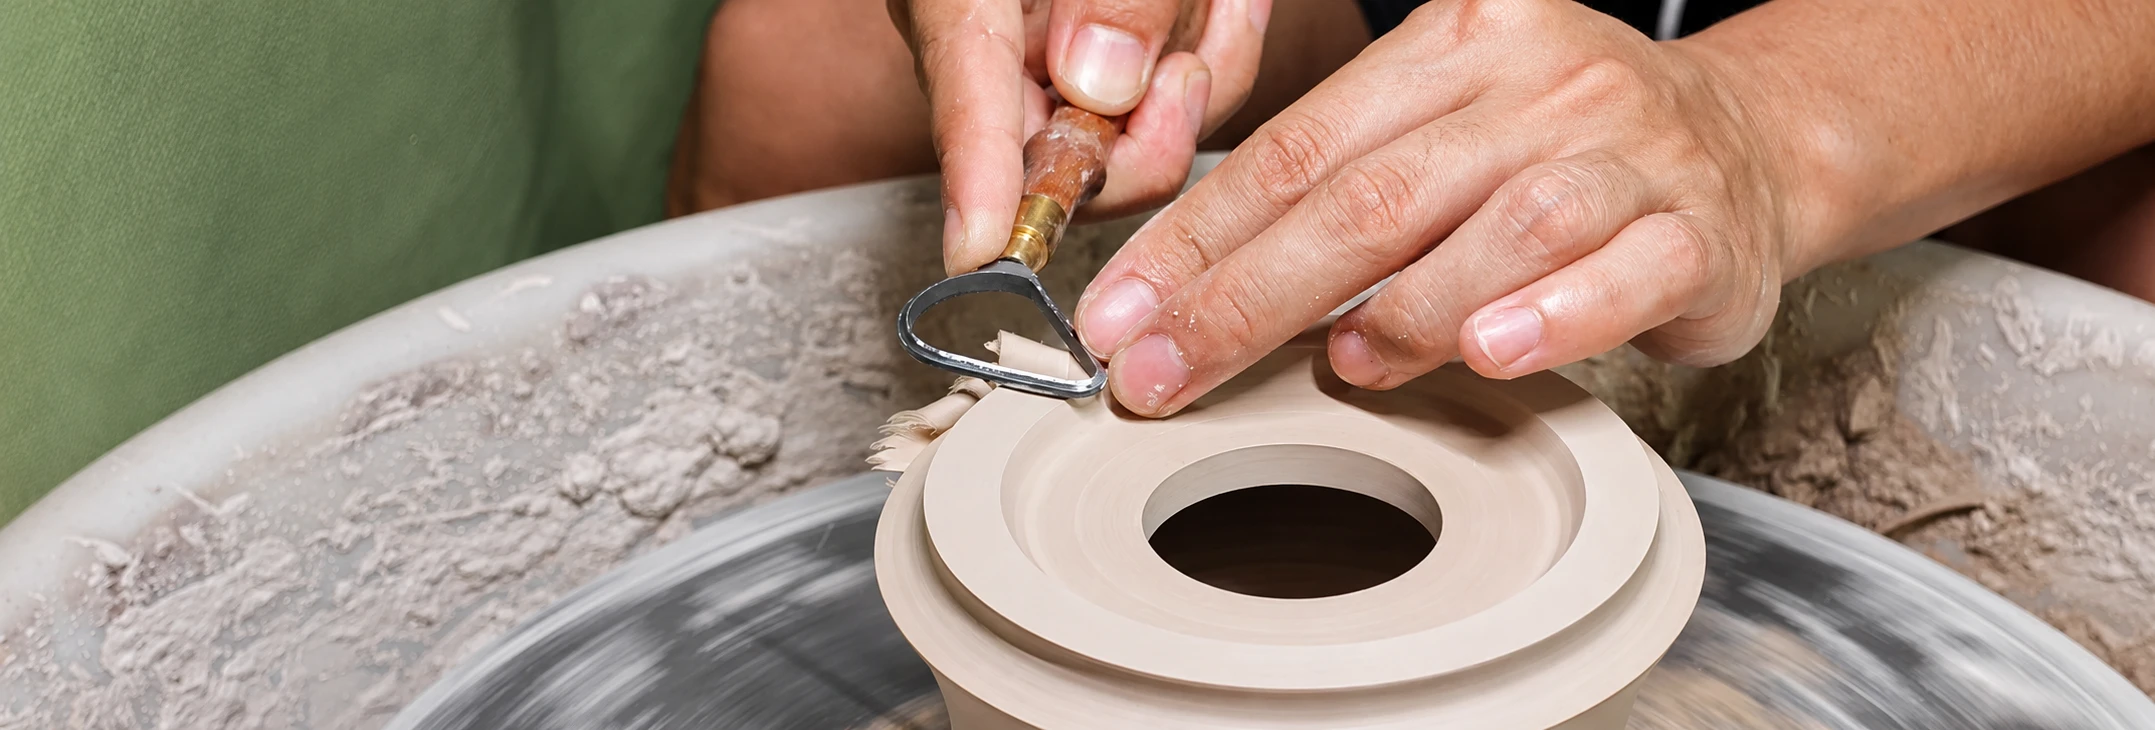
Some pots seem to trim effortlessly. The tool moves smoothly through the clay, clean ribbons fall away, and the final form appears with only a few controlled passes.
Other trimming sessions feel completely different. The clay sticks to the tool, the cutting edge jumps, the foot ring becomes uneven, or the surface needs more cleanup than expected.
When trimming does not feel right, the tool is only one part of the equation. Clay moisture, centering, wheel speed, pressure, cutting angle, and tool shape all affect the result.
Here are seven common pottery trimming problems, what usually causes them, and what you can adjust.
1. Clay Sticks to the Trimming Tool
If clay gathers around the cutting edge instead of falling away in clean ribbons, the piece may still be too wet.
Soft clay tends to smear, drag, and flex under pressure. This makes it difficult to create a clean foot ring or maintain the intended shape of the pot.
What to do
Allow the piece to dry until it reaches a firm leather-hard stage. The clay should hold its shape under light pressure while still cutting cleanly.
You can also try:
- Using lighter pressure
- Removing clay in shallower passes
- Cleaning buildup from the cutting edge
- Supporting thin walls from inside the pot
Avoid pressing harder to compensate for wet clay. Extra pressure can distort the piece without producing a cleaner cut.
2. The Tool Scrapes Instead of Cutting
Clay that is too dry can feel hard, noisy, or resistant during trimming. Instead of forming smooth ribbons, it may produce dust, small chips, or a rough surface.
This can be especially noticeable with coarse or heavily grogged clay bodies.
What to do
Use light, controlled passes and avoid digging deeply into the surface.
If the piece is only slightly too dry, a light mist may help. However, too much water can soften the surface while the clay underneath remains dry.
For a very dry piece:
- Reduce the depth of each cut
- Work slowly around curves and transitions
- Avoid forcing the tool through the clay
- Stop if the tool repeatedly catches or skips
Applying more force usually reduces control and increases the risk of damaging the pot.
3. The Foot Ring Is Uneven
An uneven foot ring often begins with the setup rather than the cut.
If the pot is not centered, level, or securely held, one side will meet the tool before the other. This can create uneven wall thickness, an off-center foot ring, or a finished pot that rocks on a flat surface.
What to do
Take time to center the piece before removing clay.
Hold a steady finger or tool close to the outside wall while the wheel turns. Watch the gap between the reference point and the pot, then adjust the position until the movement appears even.
Before trimming:
- Make sure the rim sits level on the wheel or bat.
- Secure the piece without pushing it out of position.
- Mark the approximate width of the foot ring.
- Begin with a light reference cut.
- Check the shape before removing more clay.
Correcting the setup early is much easier than repairing an uneven foot after too much material has been removed.
4. The Trimming Tool Chatters or Jumps
Chattering happens when the cutting edge repeatedly skips across the rotating clay instead of moving through it in a steady pass.
Some potters intentionally use chattering to create texture. During regular trimming, however, unexpected chattering can leave ripples, divots, or an uneven surface.
Common causes include:
- Clay that is too wet or too dry
- Excessive pressure
- An unstable grip
- A steep cutting angle
- Unsuitable wheel speed
- Poor centering
- A worn or dirty cutting edge
What to do
Start by reducing pressure and slightly changing the angle of the tool.
Hold the handle closer to the working end and support your hands against each other or the wheel tray. This reduces unnecessary movement and gives you more control over the contact point.
You can also make a small adjustment to the wheel speed. There is no single correct speed for every pot. The best speed depends on the clay body, dryness, form, tool shape, and amount of material being removed.
If the chattering continues, stop and check the clay condition, centering, stability, and cutting edge before making another pass.
5. The Cutting Edge Feels Dull
A worn trimming edge tends to push, compress, or tear the clay instead of cutting it cleanly.
You may notice that:
- More pressure is required
- The surface looks rougher than usual
- The tool stops producing clean ribbons
- The edge catches even when the clay is at the correct stage
Clay is abrasive, and coarse clay bodies can wear an edge faster than smoother clay.
What to do
Clean the cutting edge first. Dried clay around the working area can sometimes make a tool feel dull.
If the tool still does not cut cleanly, inspect the edge for wear or damage.
Traditional steel trimming tools may need regular sharpening or replacement, especially with frequent studio use. Tungsten carbide offers greater wear resistance, helping the working edge remain consistent through more trimming sessions.
Carbide is extremely hard, but it should still be handled carefully. Avoid dropping the tool, twisting the cutting head, using it as a lever, or striking it against a hard surface.
For light carbide edge maintenance, use a suitable diamond file and follow the existing bevel rather than creating a new cutting angle.
6. The Tool Catches Suddenly
A trimming tool that suddenly grabs the clay can remove more material than intended or pull the pot out of position.
This often happens when the cutting edge enters too deeply, reaches a sudden change in surface angle, or is pushed too aggressively into a corner.
What to do
Remove clay in several controlled passes rather than trying to reach the final shape in one cut.
A practical trimming sequence is:
- Remove the largest areas of excess clay.
- Establish the general profile.
- Define the foot ring.
- Refine curves and transitions.
- Finish with light cleanup passes.
Let the cutting edge enter the clay gradually. Reduce pressure when approaching a corner, narrow foot ring, or curved transition.
The goal is not to remove clay as quickly as possible. It is to remove the right amount while maintaining control of the form.
7. The Tool Shape Does Not Match the Task
One trimming tool can perform several jobs, but no single shape feels equally natural in every part of every pot.
A larger loop may work well for general clay removal and broad curves but feel too large around a narrow foot ring. A hook or angular shape may provide better access to edges and transitions. Smaller tools can offer more control during final cleanup.
For general clay removal and shaping
Choose a larger loop or main trimming tool with a stable cutting area. These shapes are useful for removing excess clay and refining broader surfaces.
For foot rings, edges, and defined transitions
Hook-style and angular tools provide a more focused contact point and can offer better access around structured areas.
For narrow spaces and final cleanup
Use a smaller detail tool for grooves, corners, edges, and small corrections where a full-size cutting head may feel difficult to control.
You do not need a large collection to begin. A practical setup can include one versatile main trimming tool and one smaller detail tool.
A Quick Trimming Checklist
When a trimming pass does not feel right, stop before removing more clay and check these four areas.
Clay condition
Is the clay firm enough to hold its shape but still soft enough to cut cleanly?
Centering and stability
Is the pot centered, level, and securely held?
Pressure and angle
Are you allowing the cutting edge to work, or are you forcing it into the clay?
Tool condition and shape
Is the cutting edge clean and in good condition? Does the shape suit the area you are trimming?
Change one factor at a time. This makes it easier to identify the actual cause of the problem.
Better Trimming Comes from Consistency
Clean trimming is not only about using a sharp tool.
It comes from matching the clay stage, centering, wheel speed, pressure, cutting angle, and tool shape to the piece in front of you.
A clean and consistent cutting edge makes these adjustments easier to feel. Instead of compensating for a worn tool with more pressure, you can focus on the form, the amount of clay being removed, and the final balance of the pot.
KOVO TOOLS carbide pottery trimming tools use solid tungsten carbide working heads for long-lasting wear resistance during repeated studio use.
Our collection includes main trimming tools, loop shapes, hook tools, and smaller detail tools for clay removal, shaping, foot rings, curves, edges, and final cleanup.
Explore Carbide Pottery Trimming Tools
Frequently Asked Questions
What is the best clay stage for trimming pottery?
Most pottery is trimmed at the leather-hard stage. The clay should be firm enough to hold its shape but still soft enough to cut cleanly.
If the clay sticks, smears, or deforms, it may be too wet. If it creates dust, chips, or strong resistance, it may be too dry.
Why does my pottery trimming tool chatter?
Unexpected chattering can be caused by clay moisture, pressure, cutting angle, wheel speed, poor centering, an unstable grip, or the condition of the cutting edge.
Reduce pressure first, then check each part of the setup individually.
Should I remove all the excess clay in one pass?
No. Several light, controlled passes usually provide better control than one deep cut.
Begin with general clay removal, establish the main shape, and then refine the foot ring, curves, and smaller details.
Do different pottery trimming tool shapes matter?
Yes. Different shapes change how the cutting edge contacts the clay.
Larger loops are useful for broad trimming and shaping, while hook and detail tools can provide better access to foot rings, edges, corners, and narrow areas.
Do carbide pottery tools need sharpening?
Carbide holds its cutting edge longer than ordinary steel, but the edge may eventually need a light touch-up.
Use a suitable diamond file, follow the existing bevel, and avoid aggressive grinding or changing the original cutting angle.